
Cover Crops on Our Flower Farm: A Case Study
In August of 2022, I sat down at the edge of my field and cried, loudly. I was ruined by the fact that I could not get enough tilth (crumbly soil) on the top of my bed to plant the cover crop seeds that were my plan B after a summer of unhappy crops stricken by heat and drought. I thought, I just need to give up, pull these sad crops out of the ground, and plant cover so I can have a better year next time around. But, sticking to my no-till philosophy, I couldn’t even do that. After a long chat with my farm partners and Nelson, who all calmed me down and said it was OK to till and that I wouldn’t be the worst farmer ever if I did, we tilled the top of the bed enough that I could get in some summer cover crop seeds, and so my newfound love of cover crops was born. I’ve decided that living roots in the ground is a higher priority for me than not tilling, though we’ll still avoid soil disturbance whenever possible.
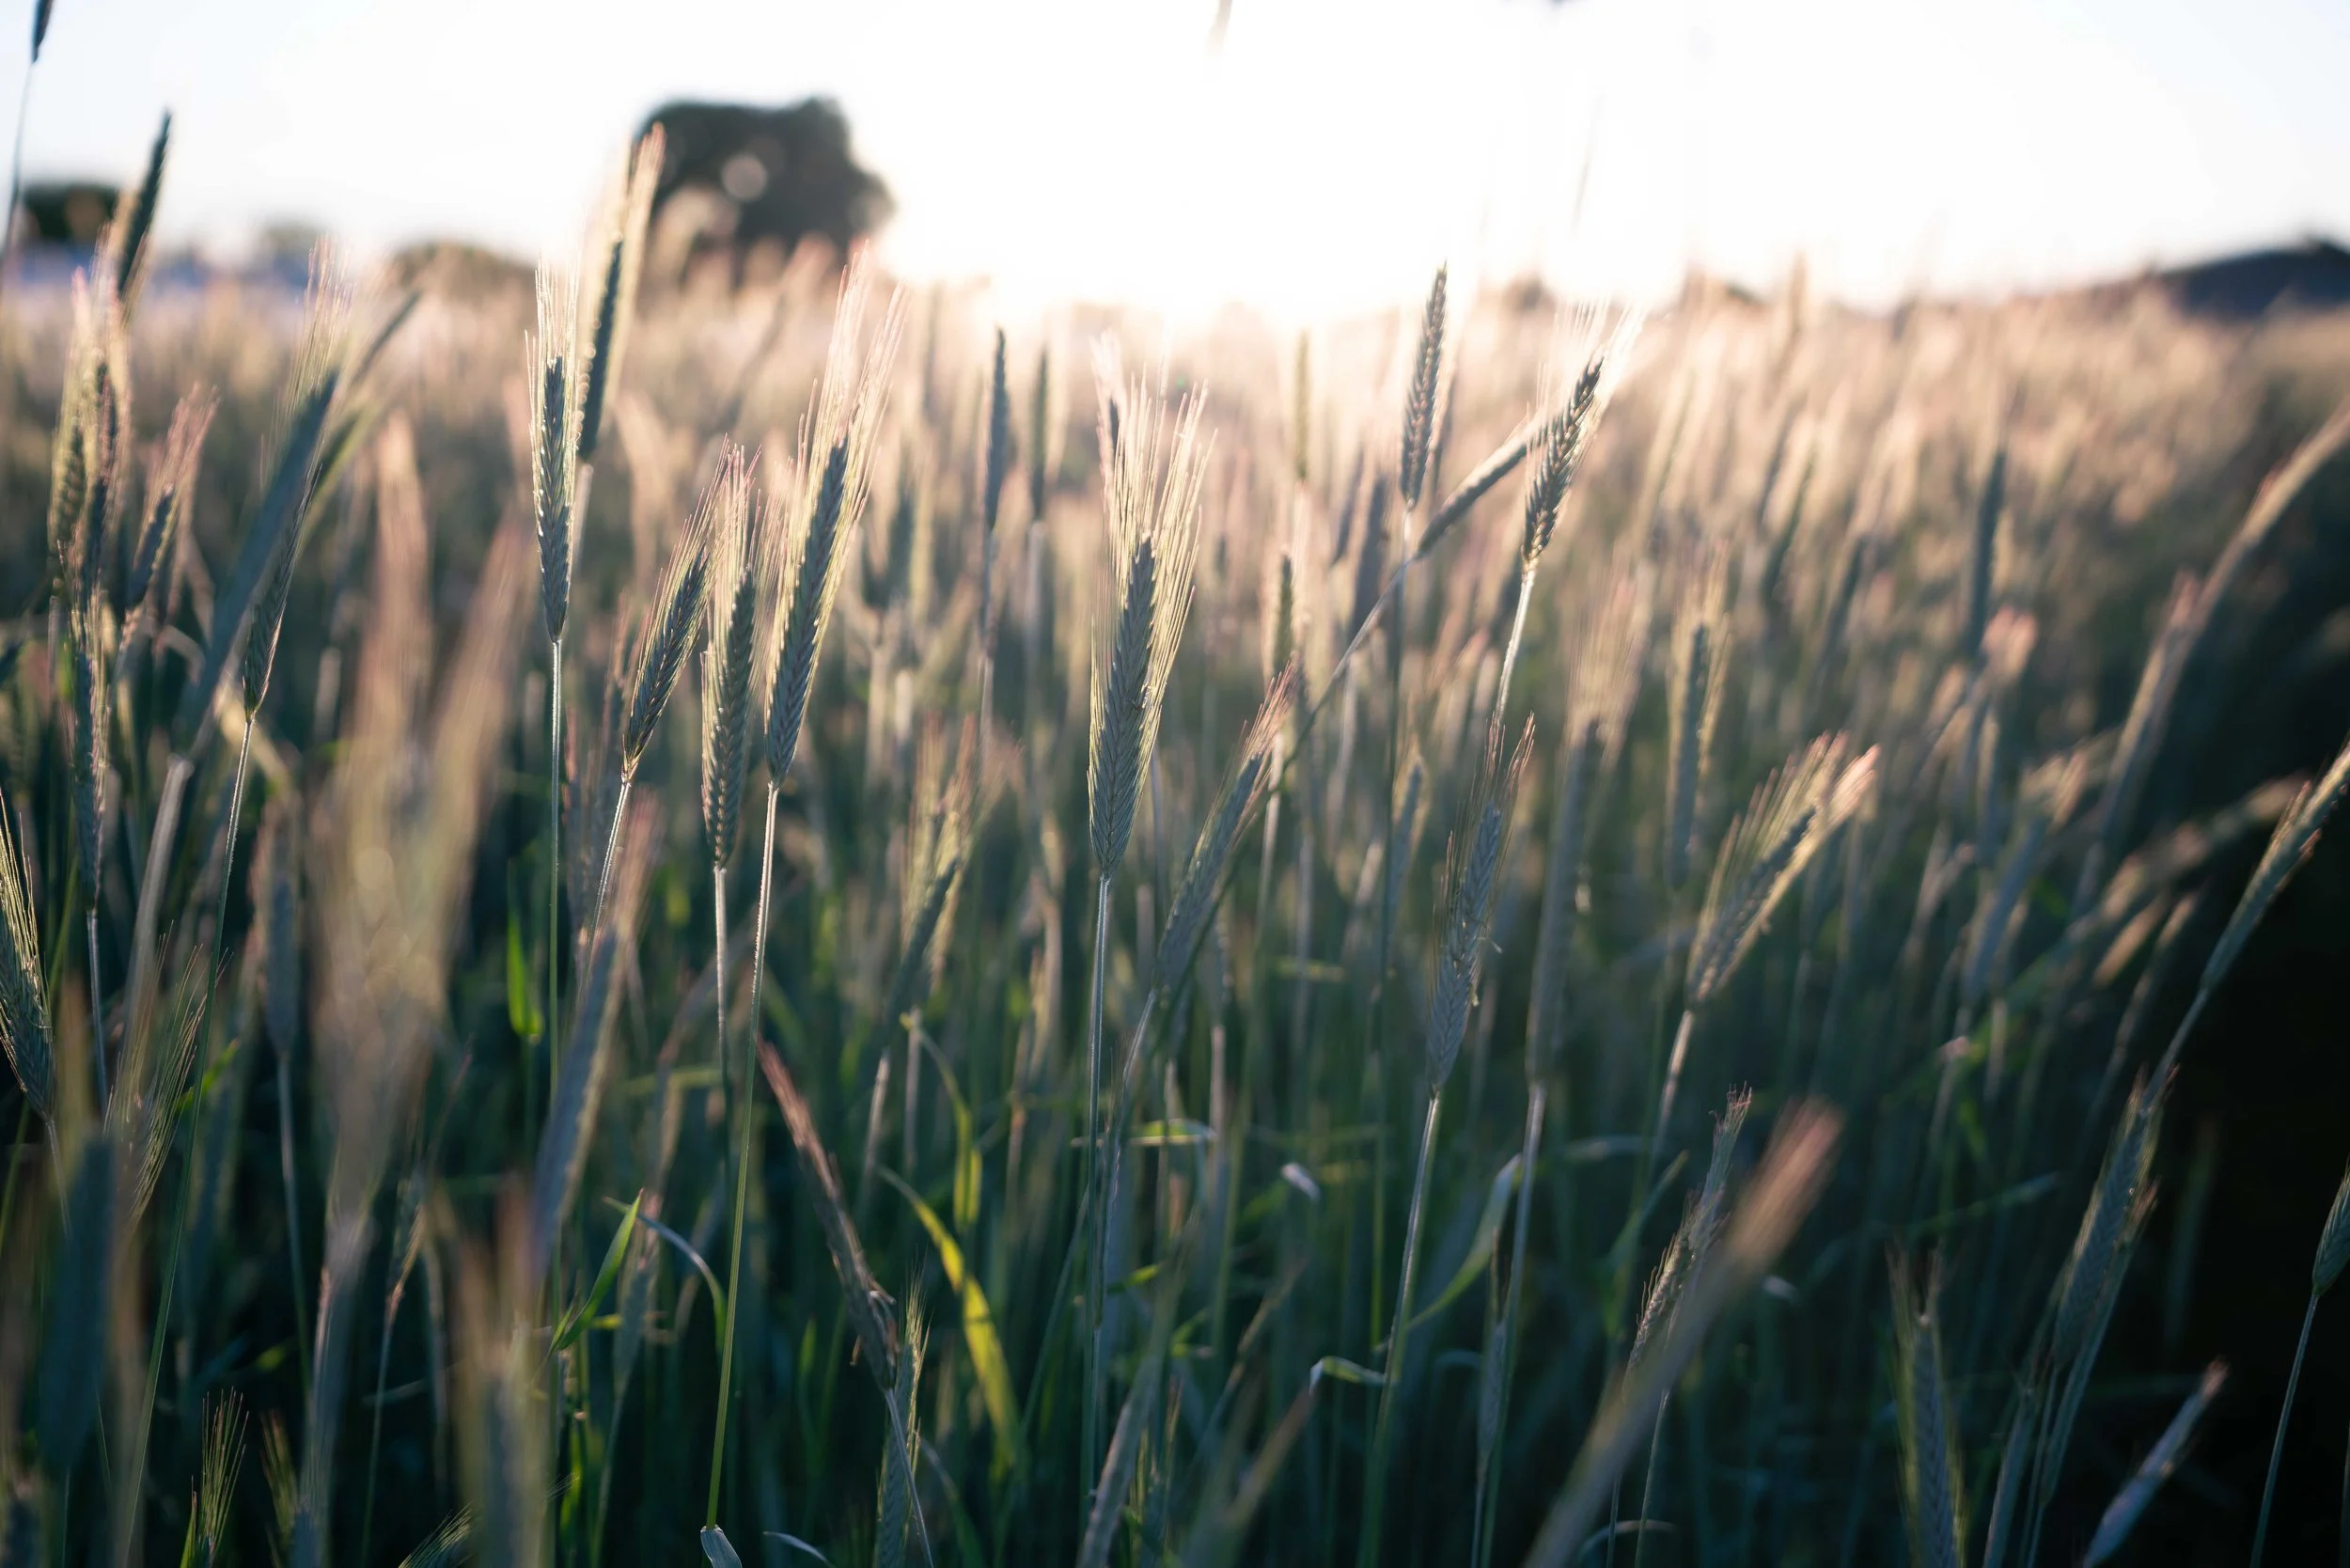
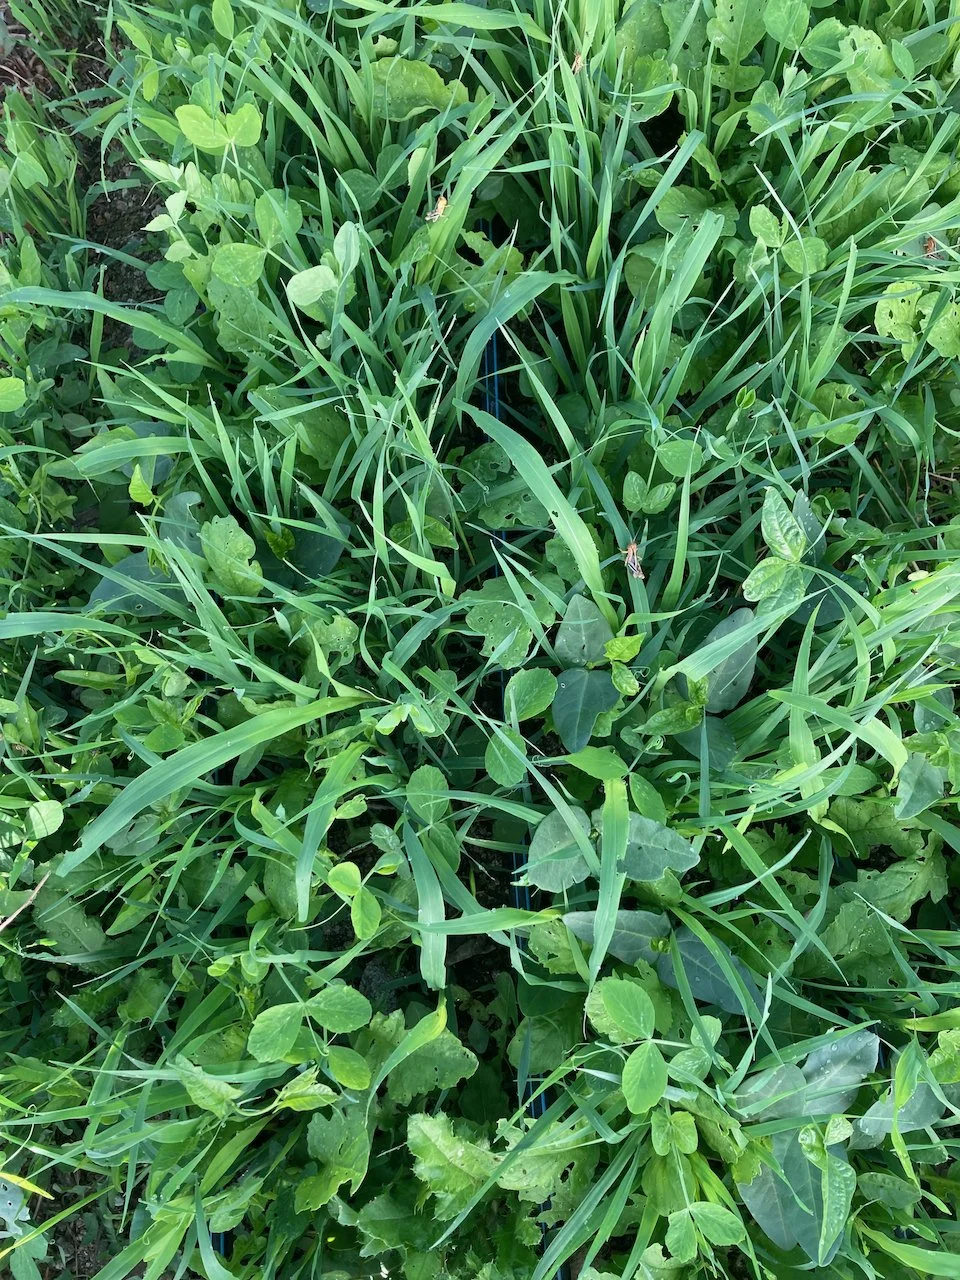
In August that year, we planted a mix of winter-killed (frost-tender) crops, including oats, field peas, a turbo/tillage radish, cowpeas, and sorghum-sudangrass. The cowpeas were quickly swallowed up by the oats and sudangrass (the density of the planting and the ratio of each plant in the mix could have been tweaked), but the peas lasted a while and the radishes kept going long into the winter.
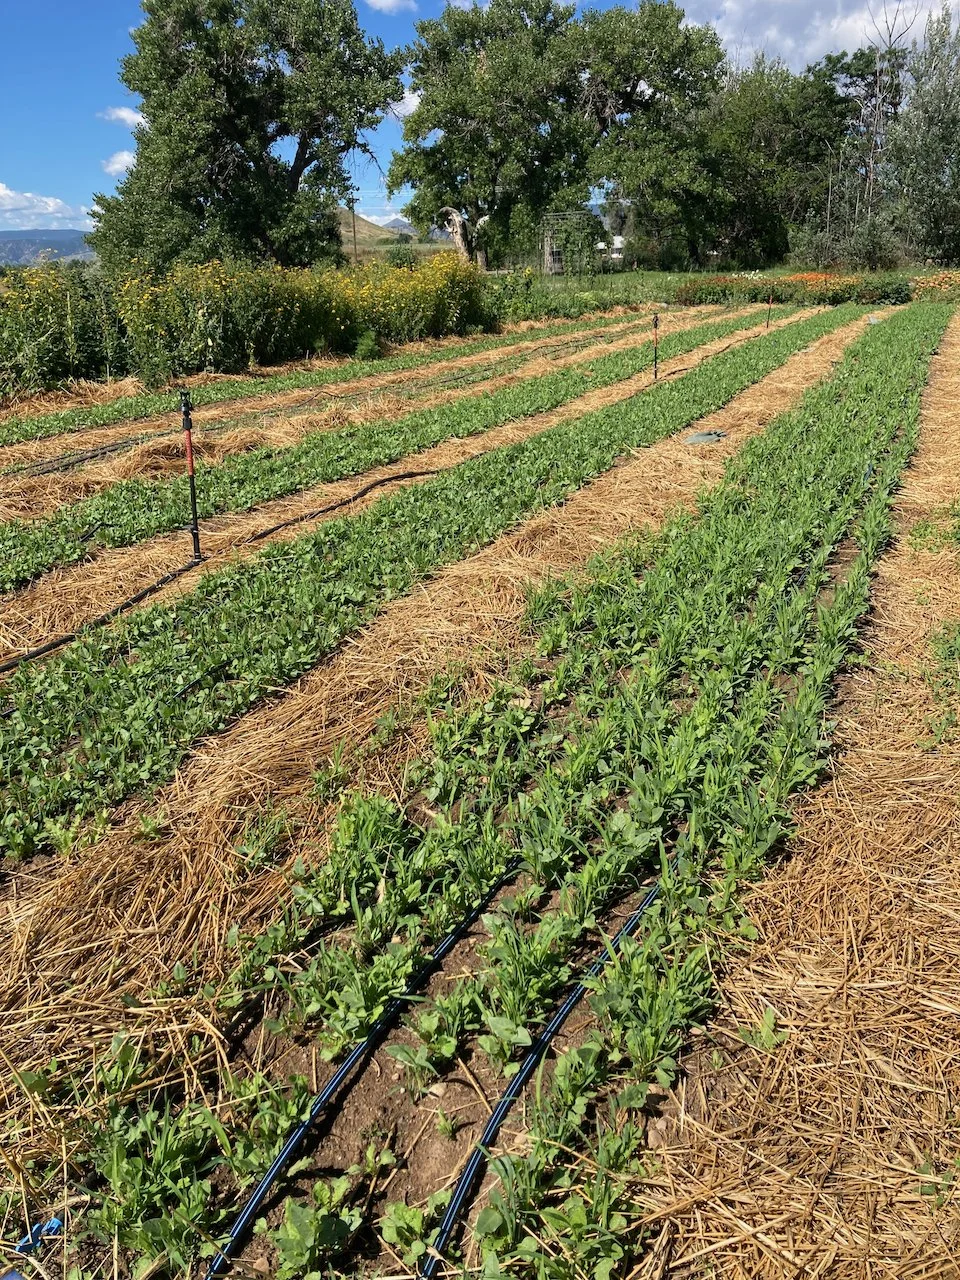
We planted these crops using a simple Earthway seeder with the bean plate on, throwing the whole mix into the hopper and running up and down the bed to plant 8 or 9 rows. This made a nice, dense stand, as long as we kept it watered, which was a challenge in the dying days of August and September, when the heat just wouldn’t quit. (Since we added some overhead sprinklers to our irrigation arsenal, cover crop germination has become a lot easier.) By early October we had big lush stands of cover crop with a ton of biomass, and as the snow started to fall, the tall stalks of sudangrass bent over and covered the soil, protecting it. The radishes eventually turned to mush and left behind long tunnels for water to seep into. The oats and peas disintegrated rapidly, providing food for early season microbes (and voles).
On the left side, you can see the cover crop growing vigorously in October, 2022.
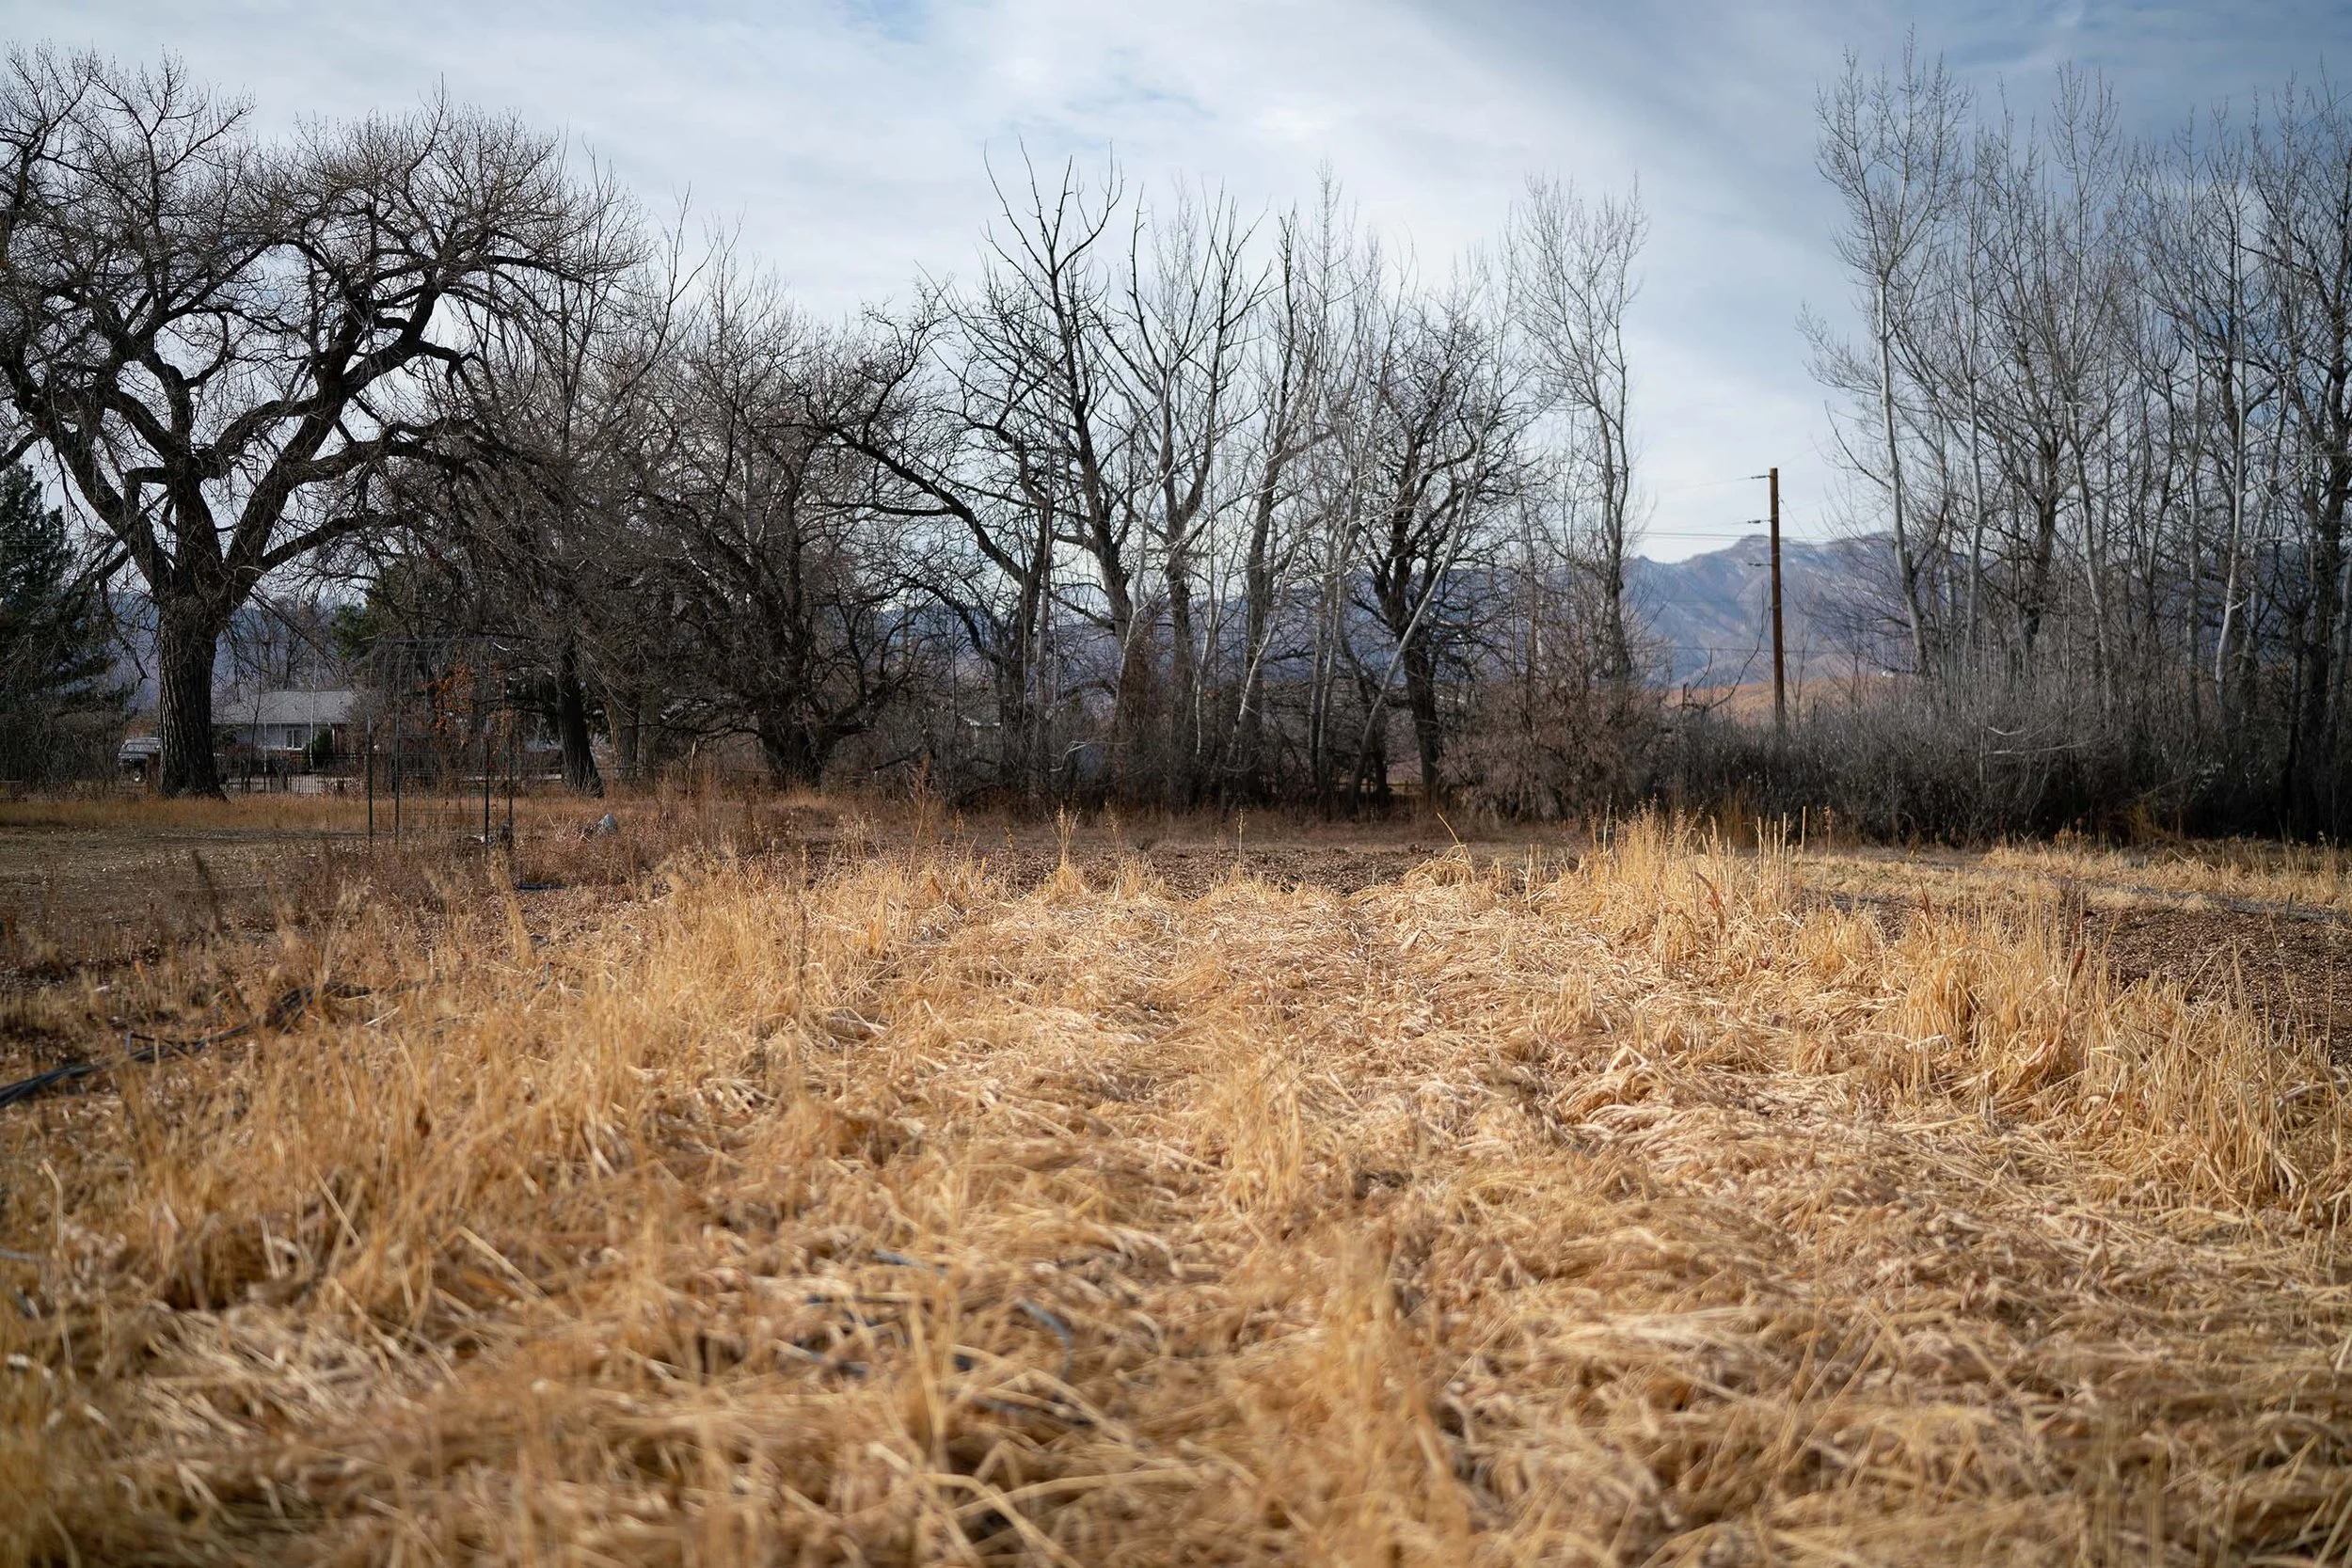
Here’s the winter-killed cover crop in December, 2022.
In September of that year, we also decided to rest a nutrient-poor 50x100 section of our field, so we planted a simple overwintering cover crop of rye, wheat, Austrian peas, and hairy vetch, also with the Earthway seeder. The plants had made a pretty good stand, though not totally covering the soil, by the time Persephone period came around (under 10 hours of daylight, which at our latitude lasts from about mid-November to the end of January).
By March of 2023, we were raking the winter-killed cover crops easily off the surface of our spring beds and planting directly into that soil, which was loose and friable thanks to the cover crop roots and the freeze-thaw of our thankfully normal precipitation over the winter.
March 2023 - cover crop has been raked easily into the aisles.
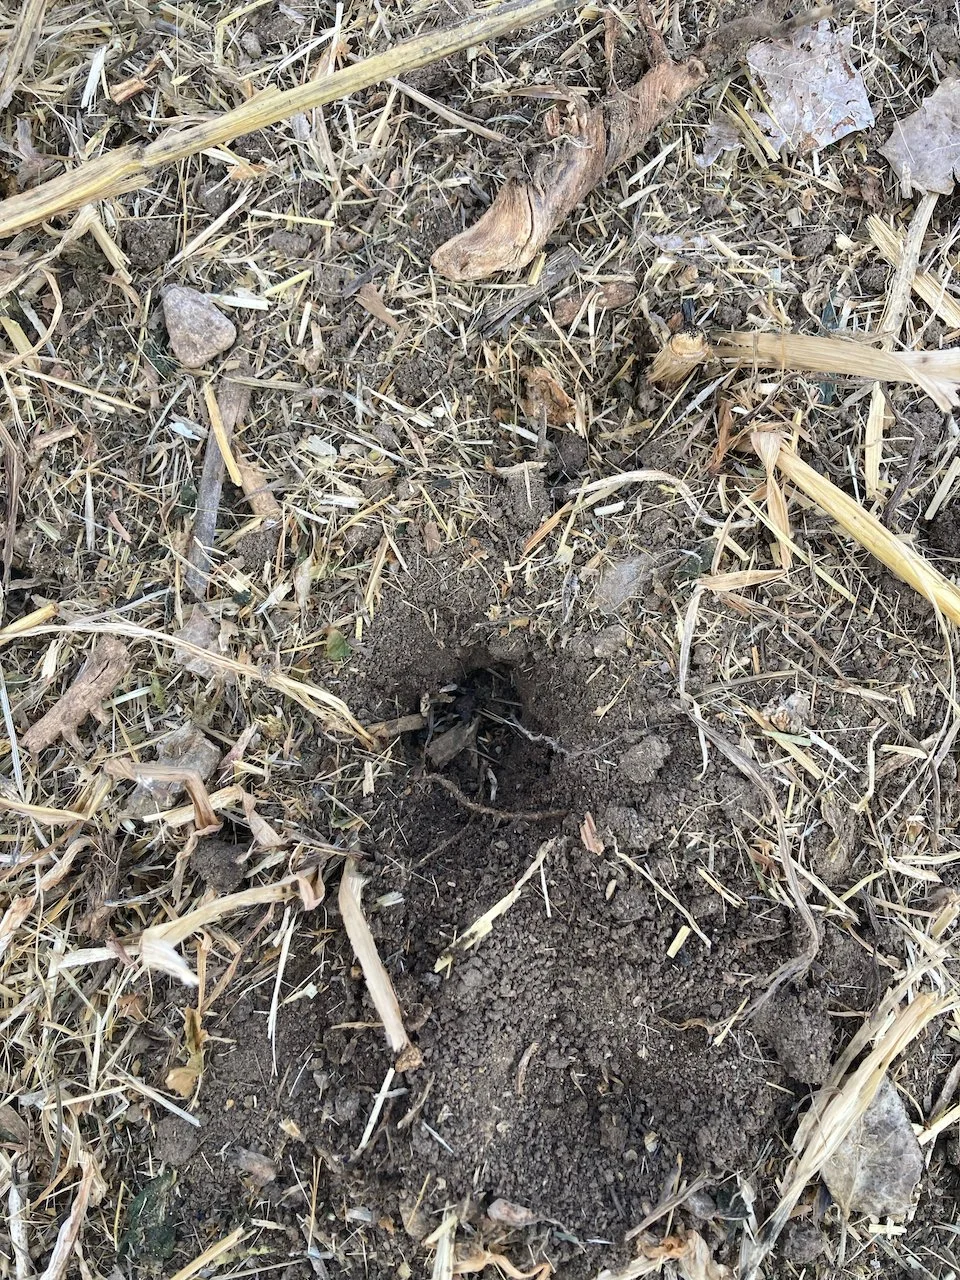
One of the holes left by a decomposed radish root.

April 2023 — overwintered cover crop in our resting block.
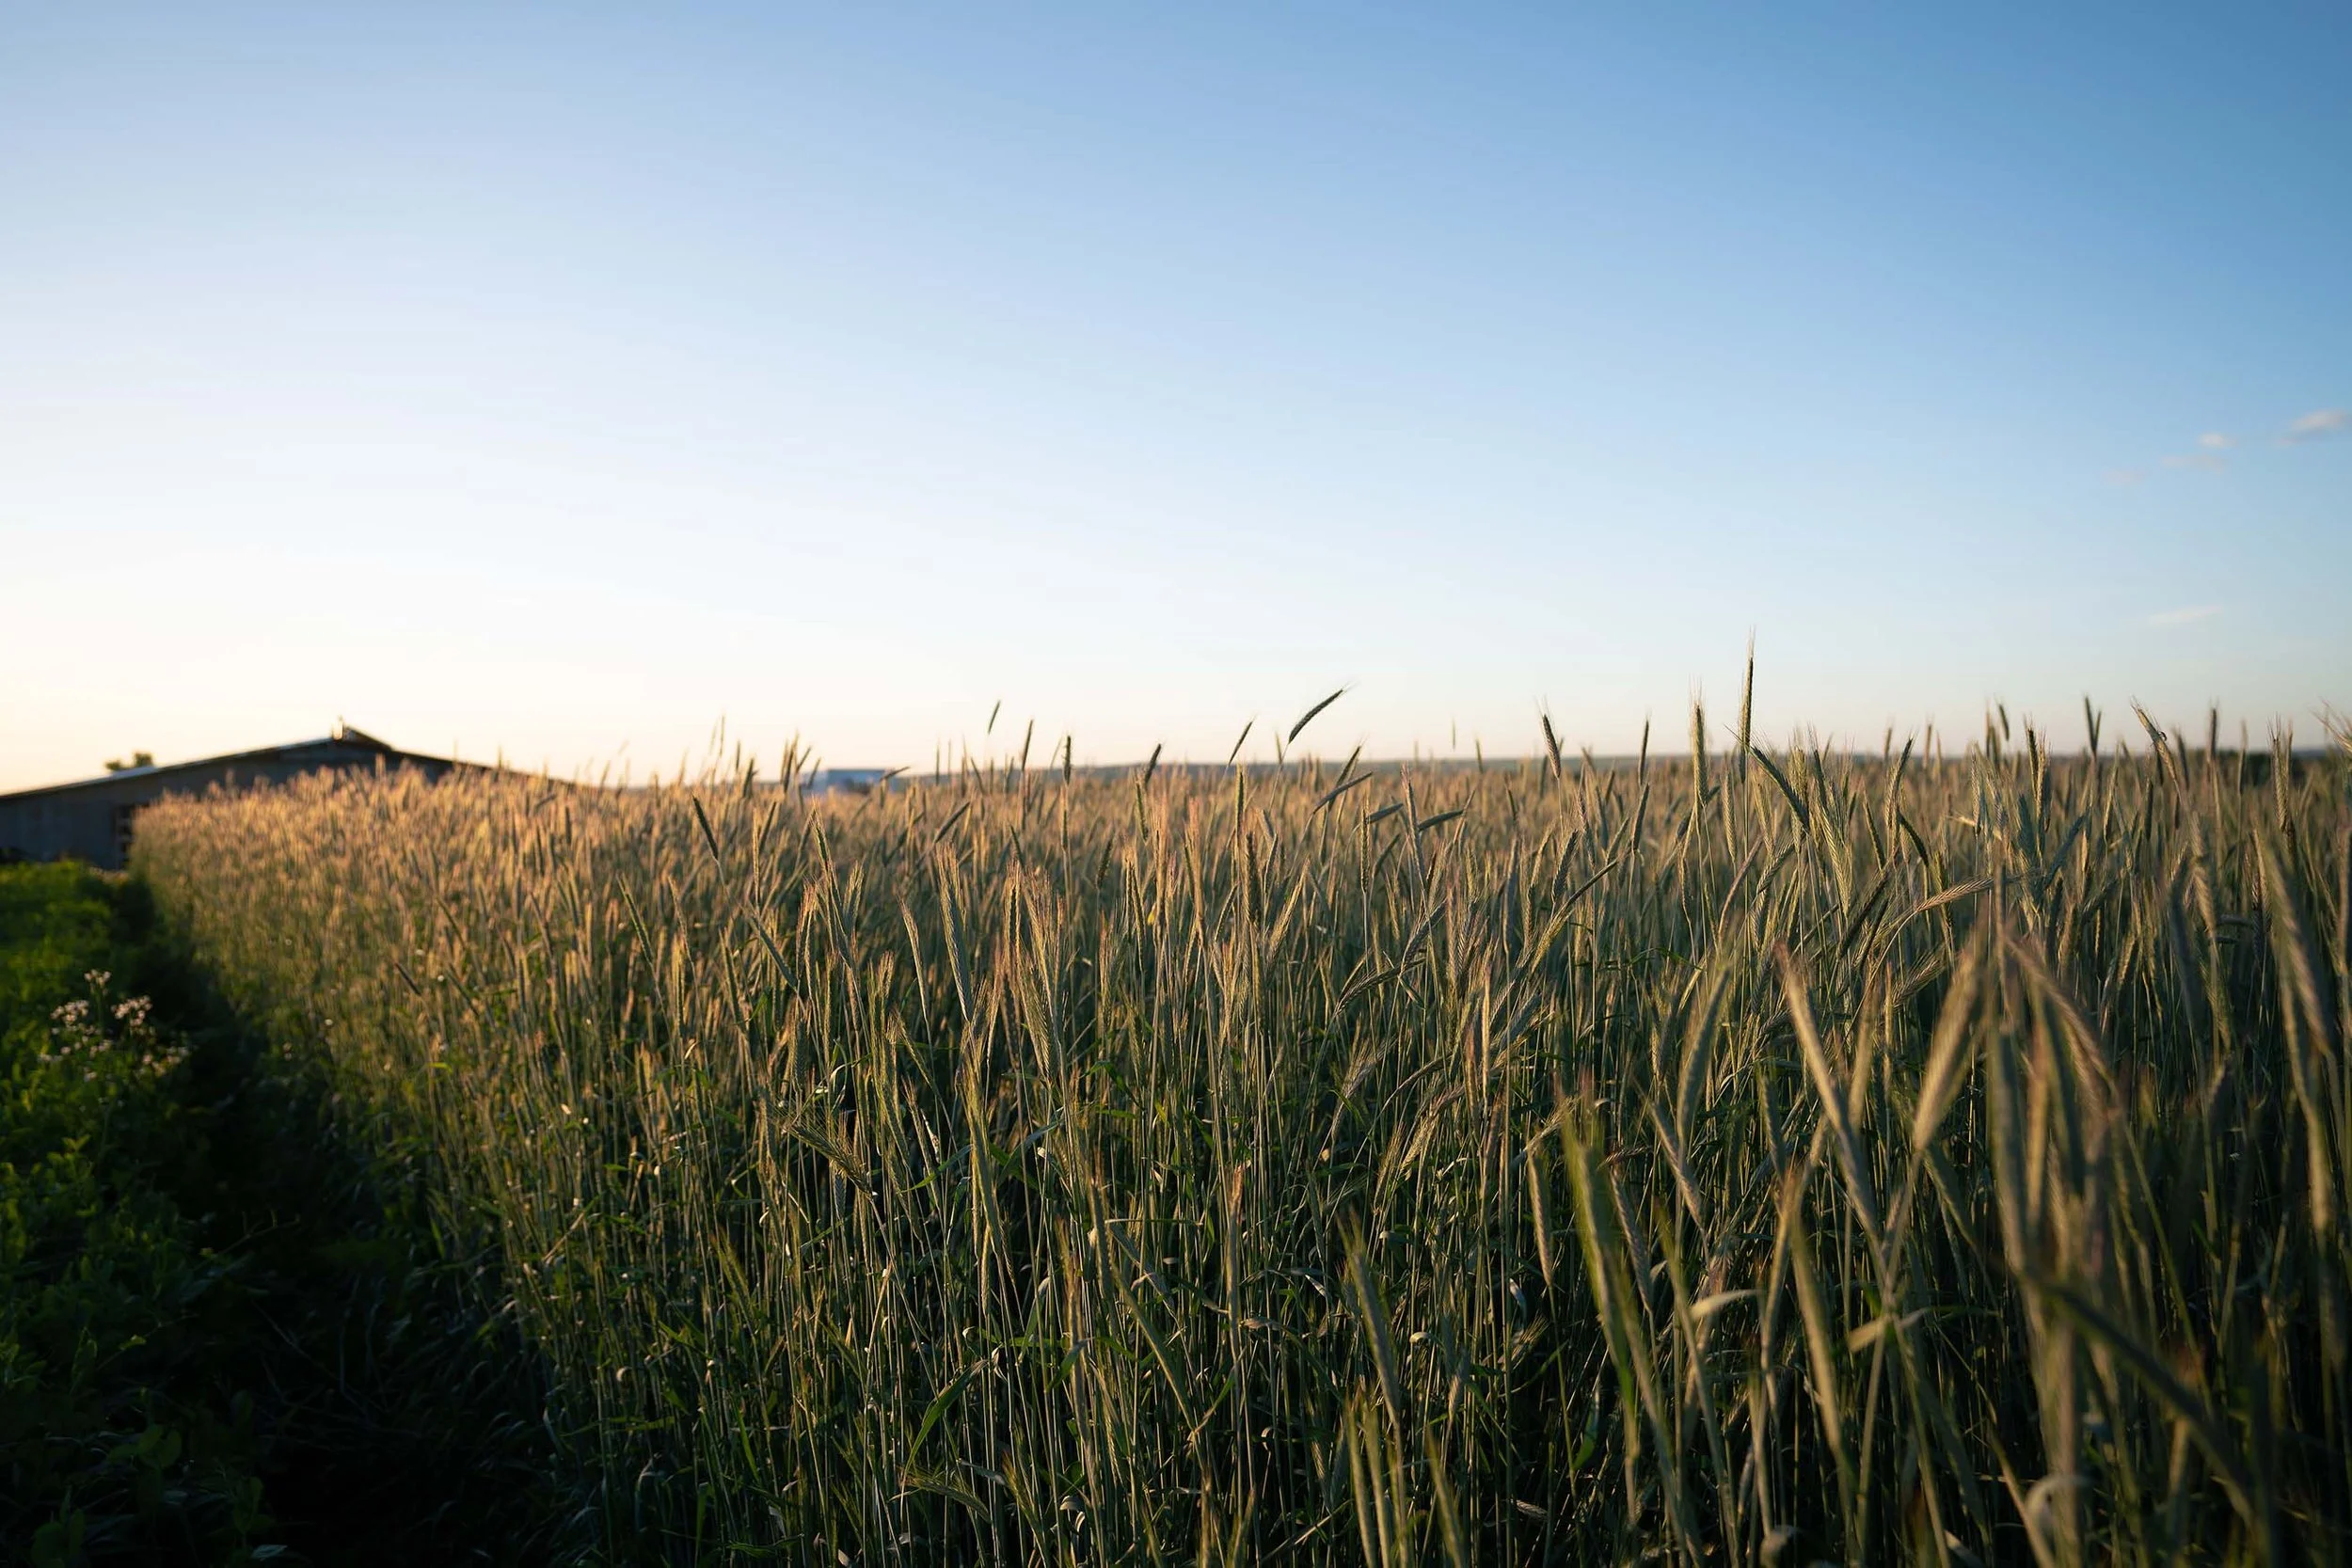
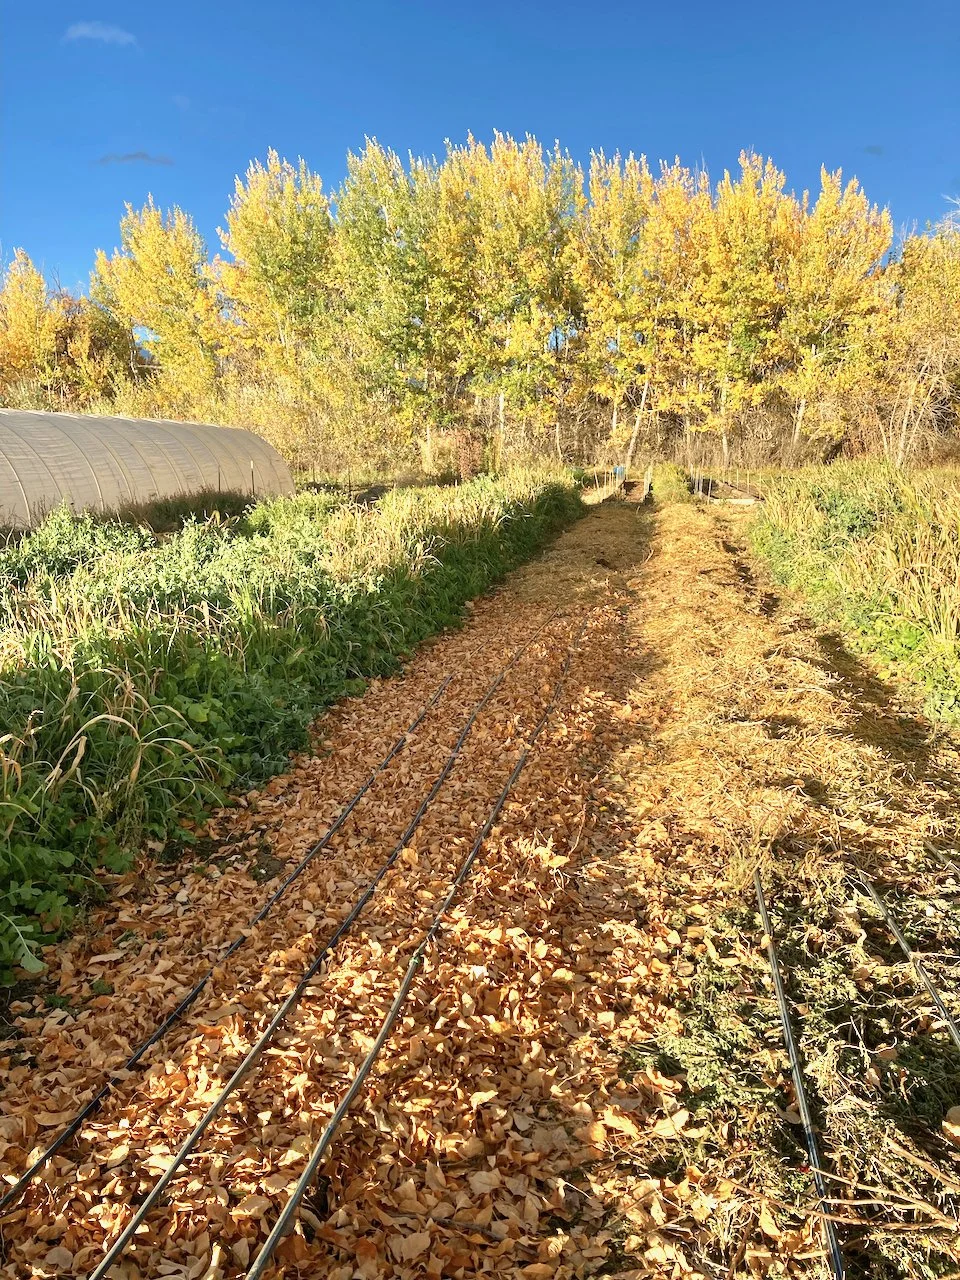
June 2023 — same view of our resting block, with rye now over 6’ tall!
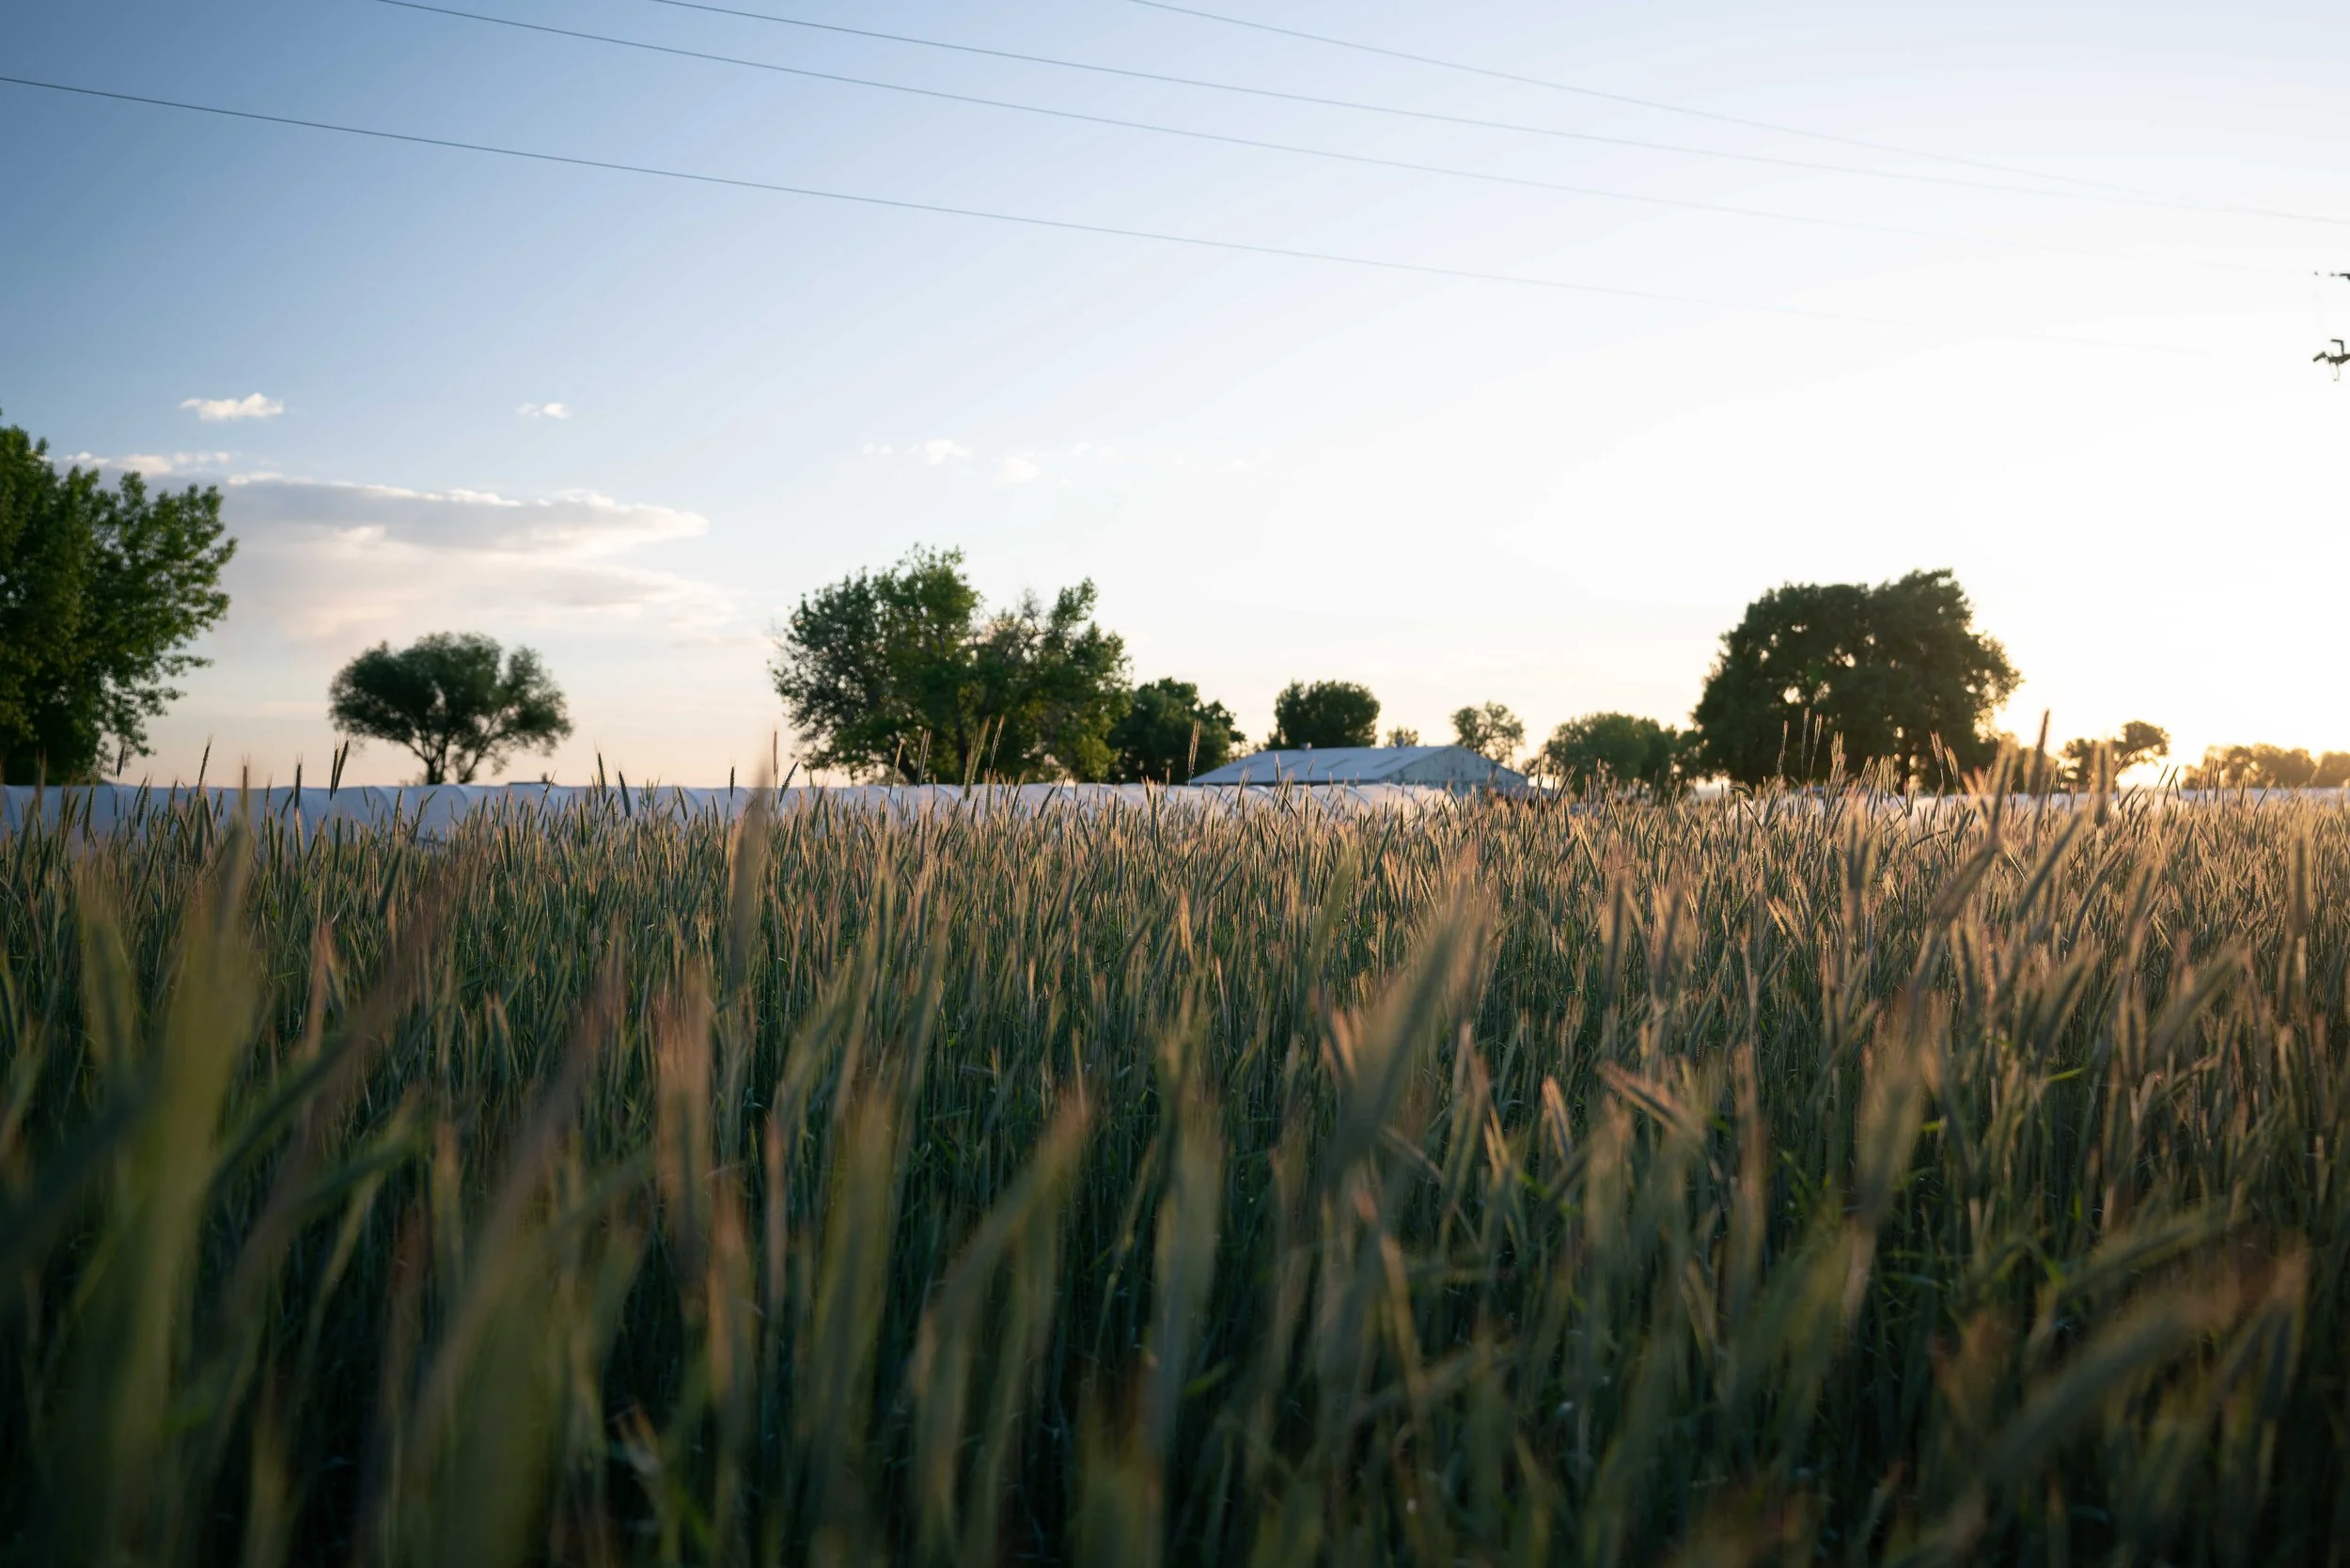
The cover crop added a lot of romance to the farm
In our resting block, by June, the wheat and rye and vetch were over 6’ tall and ready to be ‘terminated’. We wanted to crimp the cover crop, which means bending the stems enough that they can’t keep growing, but not mowing them, because grasses will come back after mowing. We wanted to lay the grasses down on the surface of the beds to protect them and keep the biomass in place. Supposedly, the end of anthesis is the best time to crimp your cover crop, as it’s before the grass has set seed (so it won’t self-seed and become a weed) but when the stalk is brittle, allowing for a good crimp. Anthesis is the setting of anthers, or the pollen of the grass crop: when you see yellow anthers hanging from the whole head of the grain, it’s time. There are many methods of crimping that can be used on a small scale, but we happened to have access to a roller-crimper made for towing on our BCS tractor. So Nelson hitched up and rolled down the rye! He rolled each bed twice for good measure.
This video shows roller crimping the cover crop and how big and tall it was before that!
We might have been a touch early, because our crop did have a ‘resurrection’ moment when the stalks began to rise up off the ground like zombies. So we decided to tarp the section with a big silage tarp — this worked great. We kept the tarp on for about 4 weeks, though less time would have been sufficient.
By July, we had run out of room in the rest of the field for some of our successions, so we decided to peel back the tarp and plant into the cover crop mulch. We planted marigolds and strawflowers, but the strawflowers were quickly getting eaten by grasshoppers and other creatures in the mulch. So we pulled the mulch back off the plants, into the aisles, and they began to recover. Having the mulch in the aisles meant a lot less weeding. The marigolds, being much taller, did great in the straw mulch (I imagine that’s why many veg farmers will use this technique with their tomatoes, peppers, and other tall plants). The mulch kept weeds at bay and kept the soil moisture and temperature more even. Retaining moisture in our arid climate is a must!! In rainier climates, mulch can protect the soil from the compaction of raindrops. I was really pleased with the weed-suppression that the mulch provided — this had been a very weedy section, and while some stronger weeds made it through, it was minimal compared to the last season.
Pulling the tarp off the resting block. On the left, you can see where we planted marigolds and cosmos into the straw mulch.
Using the Earthway seeder to plant summer cover crop into the beds where the winter cover crop straw was raked into the aisles. On the right you see where I tried to plant directly into the straw without raking it off.
Strawflower planted into the mulch - they didn’t like it!
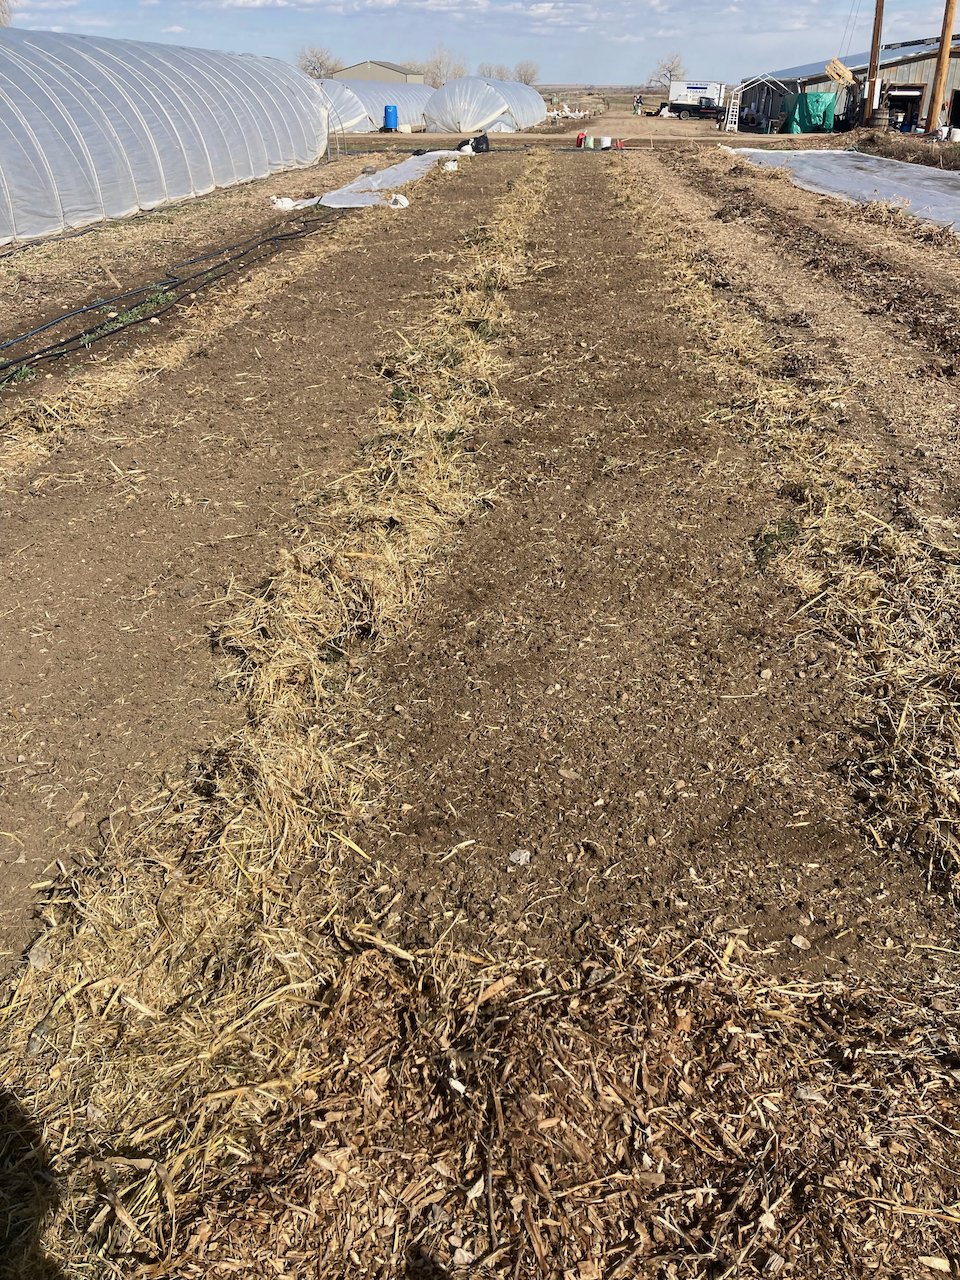
Toward the end of July, we began removing the tarp, bed by bed, and planting summer cover crop in those beds. At first, I tried to run the Earthway seeder in between the rows of dead winter cover, but it’s just not a strong enough machine. Whenever anyone invents a single-bed sized no-till seed drill, I’m here for it! Instead, we just raked all the straw off into the aisles and planted the bare beds with summer cover crop, including the sorghum-sudangrass, oats, peas, cowpeas, and radish just like the season before. In hindsight, I’m pleased that we pulled the straw off because it gave us that extra soil and weed protection in the aisles.
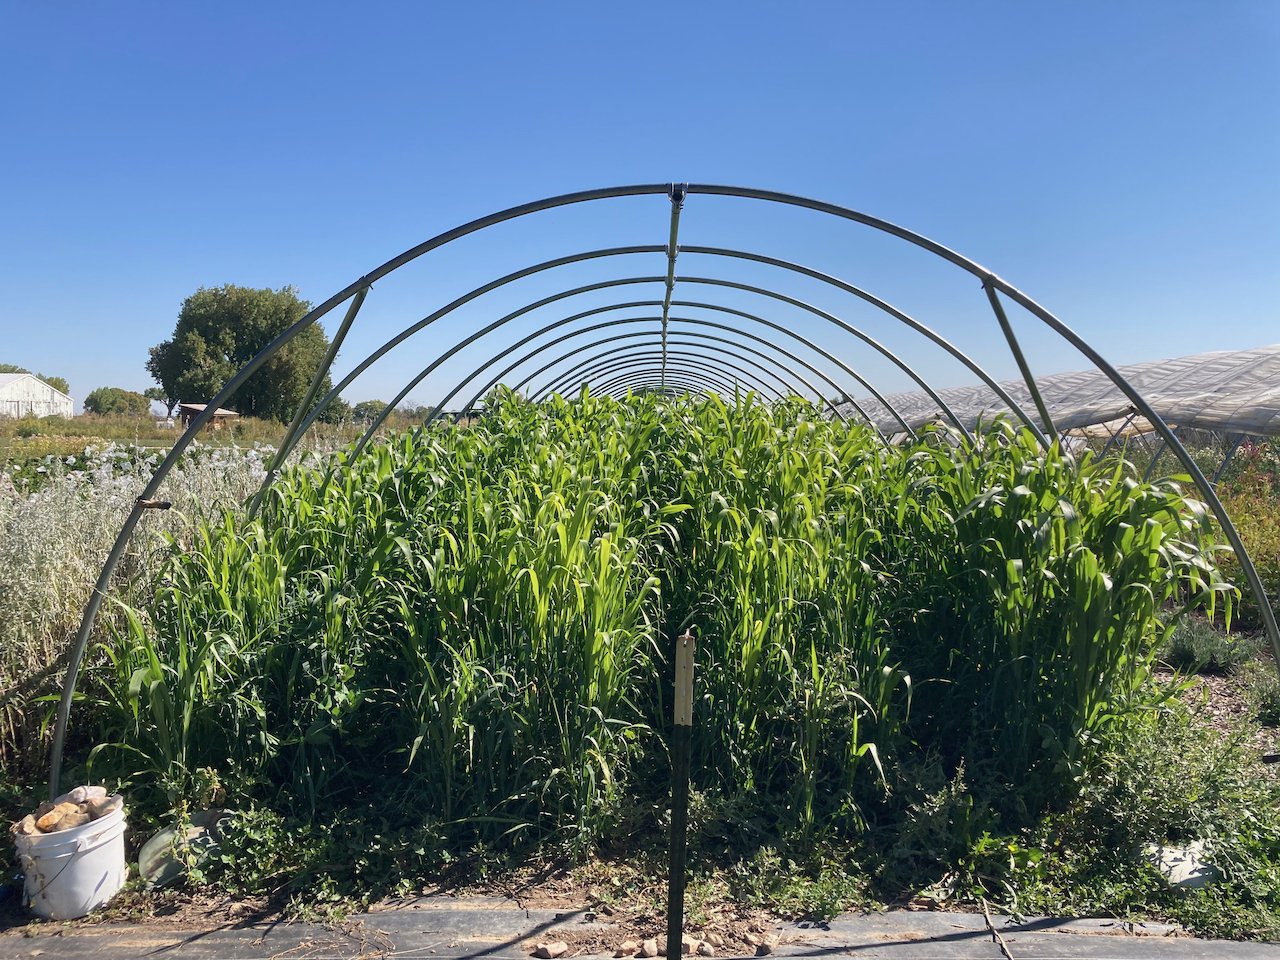
In August, we also started planting our finished field beds with summer cover crop, and we decided to remove the cover from one of our hoop houses, where we’d had our overwintered crops, and plant summer cover in there too. We hoped that the cover crop, along with fall rain and snow, would help mitigate and leach out any salt or mineral build-up under this cover. Just last week, we replaced the cover to get this house ready for some anemone corms. We’re not sure yet if the cover crop will come out of the ground easily once the ground warms up in the tunnel, so we may be pulling it, digging it, or tilling it — we’ll see!
Overall, I’m SO excited about cover cropping and about the ways we’ve been able to integrate it into our farm. Not only does it make me happy to see the plants growing big and tall in the field, but I know that they are providing essential sugars and other nutrients to the microbial life in the soil. In addition, we sometimes get bonus cash crops from the cover crop! Sorghum-sudangrass turns out to have an absolutely gorgeous flower, and flowering oats, both in the green and the dried white stage, are beautiful fillers for arrangements fresh or dried. The pea vine tips make a nice snack in the late summer ;)
Summer cover crop growing happily with the straw from winter cover raked into the aisles.
Thick cover crop canopy after just a few weeks of growth.
Resting our hoop house with a thick stand of winter-killed cover crop.
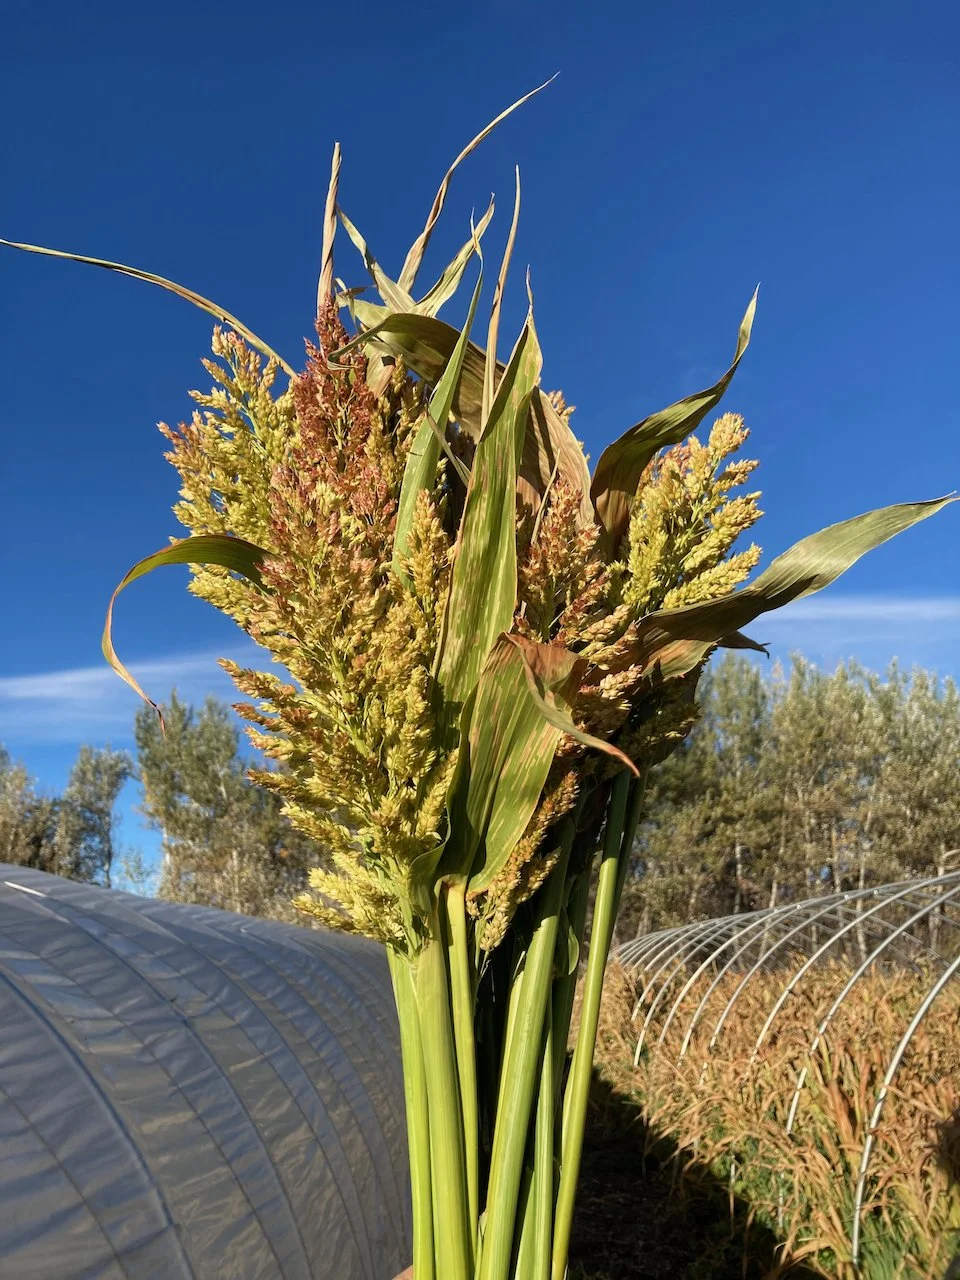
Gorgeous spikes of sorghum-sudangrass flowers. I like this even better than broom corn!
I’m really happy with the winter-killed cover crops, because they allow me to have late-season growth that is easy to remove in the spring when I need bed space. However, cover crops that overwinter are amazing for keeping the soil alive and fed all throughout the winter. Cereal rye and winter wheat will germinate and grow in soils as cold as 40°, so you can plant it into November in our climate. They’ll go dormant during deep winter and then begin growth in the early spring, pretty much as soon as those soil temperatures warm up enough in the spring (around equinox).
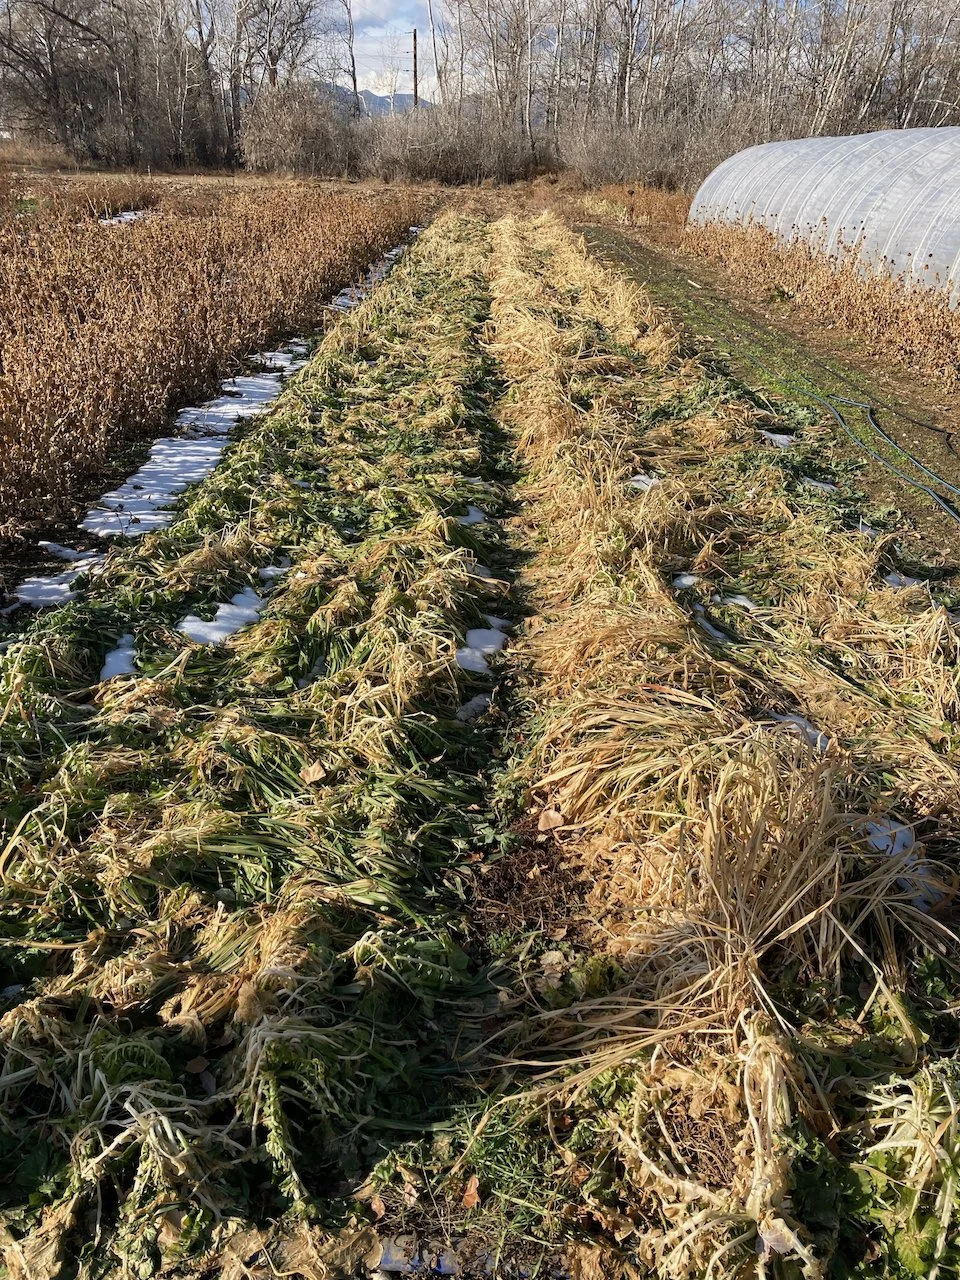
January 2024 — Summer cover crop in the resting block mashed by snow and starting to decompose while protecting the soil surface and holding in moisture.
My thought is that if we wanted to do more winter cover crops more often on a small scale, and still be able to plant tender annuals in those beds, we wouldn’t be able to crimp them at anthesis, because I get most of my field completely planted by early June when that happens. So I could allow as much growth as possible in the early spring, then crimp in mid-April, and tarp for at least two weeks to ensure the plants have died and begun to decompose. Then I could plant dahlia tubers or other warm-season and tall transplants into the mulch. I’d probably try this on a very limited basis, like one bed, to see if the tarping timing would work out given the cooler temperatures and slower decomposition of spring vs. summer.
Another cover crop I want to mention is buckwheat — what an awesome little plant! This guy does great work as a fast-growing crop (just 40 days to flowering) that covers any bare soil you might have between successions or anywhere you just want to put something to not have bare ground. It has a very low C:N ratio compared to other common cover crops, which means it won’t suck up as much nitrogen as it decomposes. It also suppresses weeds really well, because it grows quickly and has a great leaf canopy. Plus, it’s allelopathic, which means it produces chemicals that inhibit the germination and growth of other seeds and plants. Buckwheat would be a good addition to the summer cover crop mix I use — there’s no reason I don’t have it in there. Just don’t try to plant anything into recently terminated buckwheat, or underseed your dahlias with it — I learned that the hard way!
I thought I’d share the cover crop decision flow-chart I made, along with some other resources when you’re getting started with cover cropping on your farm.
Here’s a spreadsheet with some useful information I’ve gleaned.
Green Cover offer a SmartMix calculator that lets you choose different cover crop species that match your goal, and it’s really fun to play around with.
I currently get most of my cover crop seed from Pawnee Buttes in Greeley, CO, but there are many seed companies throughout the states who specialize in cover crop seeds. Always go local if you can, to avoid shipping costs and of course to support your local economy.
I hope you consider incorporating cover crops into your farm in whatever way you can! You don’t have to go big; just start and see what happens.
Thanks for reading, everyone. Happy solstice and happy new year to all!